 Loop
LoopStrategies for using
Claude Code
What I've learnt from using Claude Code,
and strategies you can use to get even better results.
Claude Code is an incredibly powerful tool from Anthropic, which brings their advanced AI model into your terminal window. It can edit files, run commands, search your codebase, and build features from start to finish - all from a single conversation.
I've been using it daily for about six months now, and it's easily the biggest improvement to my workflow in years. That said, the quality of what you get back depends almost entirely on one thing: how specific you are with your prompts.
I made a lot of mistakes early on - vague prompts, wasted context, and letting Claude go down the wrong path before stepping in. This guide covers the strategies I regularly use in my professional work, so that you can skip the same trial-and-error phase.
1. Write clear, specific prompts
This is the single biggest thing I've learnt. Early on, I'd write lazy prompts like "add a dark mode toggle" and then get frustrated when Claude made a bunch of decisions that I didn't agree with. It would pick the wrong file, use the wrong component library, or change things that I didn't want to be changed.
The fix is pretty simple: spend the extra 30 seconds and be incredibly specific about what you want. Tell Claude which files it should change, what components to reuse, and what not to touch. After I started doing this, the results improved immediately.
When you're writing a prompt, try to include:
- File paths - use
@filenameto reference files directly, so that Claude reads them before responding. Or you can copy the specific path, like/components/footer.tsx - Desired outcome - describe what the end result should look like
- Existing patterns - point to similar code that already exists in your project
- Constraints - mention anything that you don't want to be changed
You can also pipe data directly into Claude Code. Running cat error.log | claude sends the file straight into your conversation, which is useful when you're sharing error logs or the build output.
Here's an example of a vague prompt versus a specific one:
Add a dark mode toggle to my app.
Add a dark mode toggle to the site header, which is found in components/site-header.tsx. - Use the existing Button component from components/ui/button.tsx - Store the preference in localStorage with the key "theme" - Toggle a "dark" class on the <html> element (Tailwind's dark mode strategy) - Use a sun/moon icon from lucide-react, make sure that it matches the existing icon style in the header - We should default to using the user's system preference on their first visit - Don't modify the existing colour scheme, just add the toggle button next to the existing nav items
The second prompt tells Claude exactly where to make changes, which components to reuse, how to store the state, and what not to break. It takes a few extra seconds to write, but it saves you from having to go back-and-forth correcting things.
By being specific from the very start, you'll get the results you want in the first 1-2 prompts and save yourself a lot of time.
2. Include images to guide the output
Claude Code can also read images, which is an incredibly powerful way to improve your results - but most people aren't aware of this feature. If you're working on anything visual - such as a new UI component, screen layout, or any other design - pasting a screenshot into the conversation is far more effective than trying to describe what you want in words.
AI models have become incredibly good at analysing images and identifying key objects within them, so you should use this to your advantage. I've found that images are especially useful in two situations:
Showing what good looks like. If you have a design in Figma, a mockup from a designer, or even a screenshot of another site that has the style you're going for - paste it in. Claude can use it as a reference and build towards it, rather than guessing what you had in mind.
I've attached a screenshot that shows the card design from Figma. Implement this as a React component in components/ui/chart-card.tsx. - Match the border radius, padding, and shadow from the design - The dollar amount should be in the top-left, followed by change over the last 14 days - Use the colours from our Tailwind config - Make it responsive - stack it vertically on mobile, side-by-side on desktop

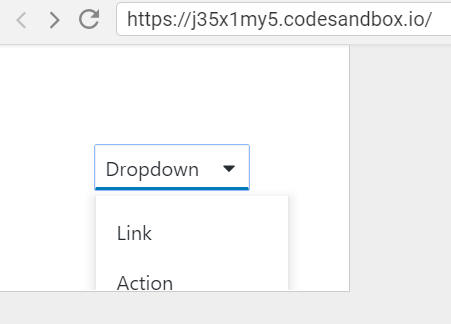
Showing what's broken. I've wasted a lot of time trying to describe visual bugs with text. "The dropdown is overflowing" doesn't give Claude much to work with. But if you attach a screenshot of the broken layout, Claude can see exactly what you're seeing and quickly fix the bug.
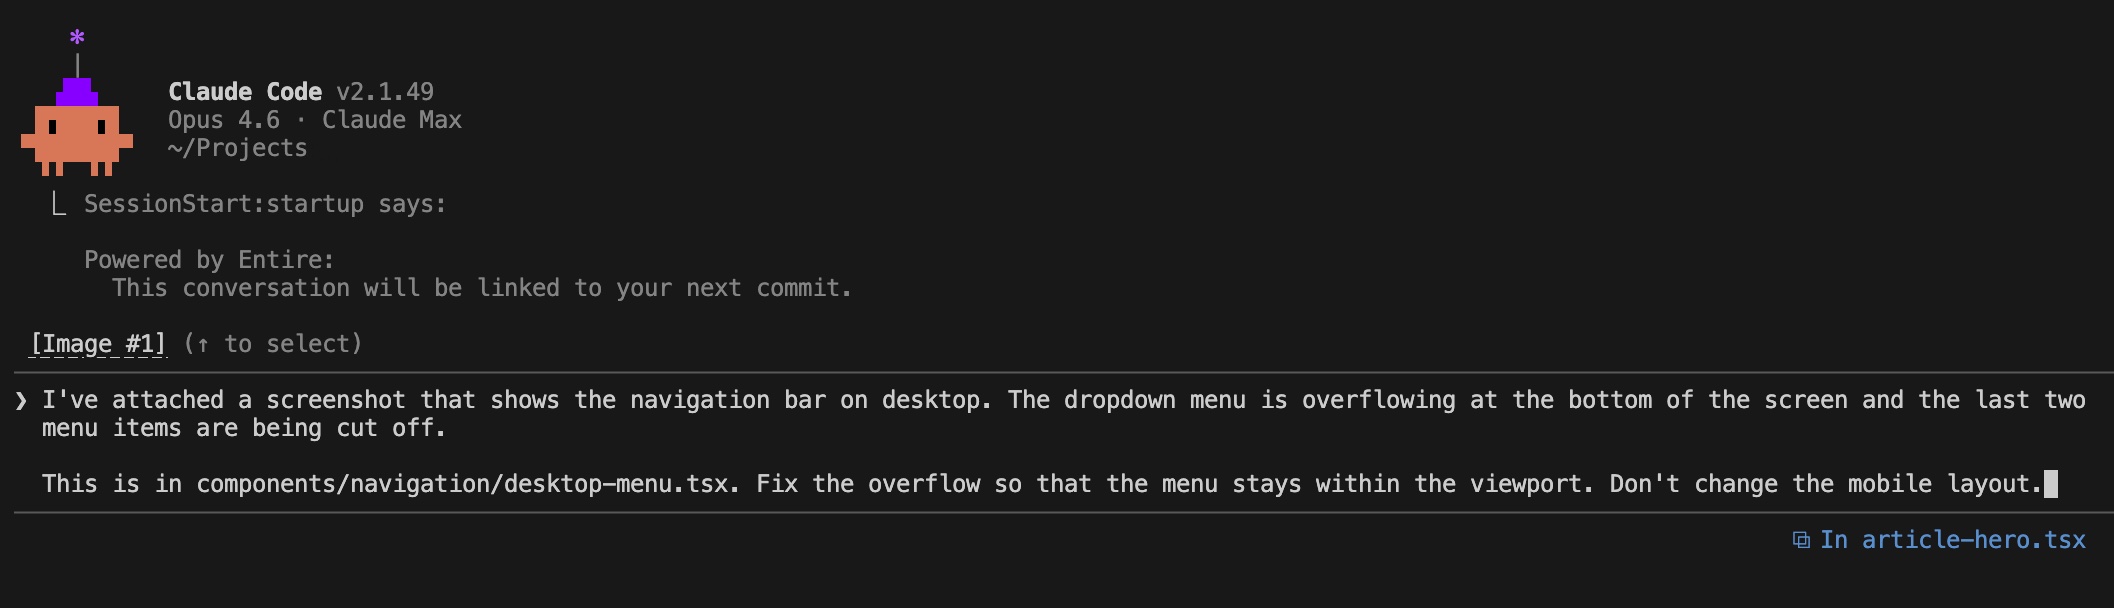
I've attached a screenshot that shows the navigation bar on desktop. The dropdown menu is overflowing at the bottom of the screen and the last two menu items are being cut off. This is in components/navigation/desktop-menu.tsx. Fix the overflow so that the menu stays within the viewport. Don't change the layout on mobile.
You can paste images directly into the Claude Code terminal or reference image files in your project. Either way, it will cut down on the back-and-forth messages and save you lots of time.

Loop Newsletter
Get weekly AI insights delivered to your inbox
Subscribe for freeRead by executives at:

3. Ask Claude to research the codebase first
Before you jump into writing code, it's worth asking Claude to explore your codebase and summarise what it finds. This is especially useful when you're picking up someone else's code, onboarding to a new project, or trying to understand how something works before you change it.
Claude is really good at reading files, searching for patterns, tracing imports, and building a picture of how things fit together. By doing this research upfront, you both have a shared understanding of the code before any changes are made - which leads to better decisions and fewer surprises.
This will give Claude an overview of your codebase and focus the results in future messages. It also means that Claude is less likely to duplicate components that already exist in your codebase, as it's able to spot and re-use them.
Before we make any changes, I need you to research how authentication works in this codebase. Focus on: - Where are the auth-related files? (middleware, hooks, context providers, API routes) - How are protected routes currently handled? - What session/token strategy is being used? - Are there any utility functions for checking auth state? Summarise what you've found, so that we can discuss the approach before we implement anything.
I've used this approach when investigating complex bugs that span multiple files and when I'm planning to do a refactor. Rather than having to read through dozens of files yourself, you can let Claude do the legwork and show a clear summary.
You can also use this to generate documentation. Just ask Claude to explore a module and write up how it works - it's a great way to create internal docs for parts of your codebase that have never been properly documented.
4. Use plan mode for complex tasks
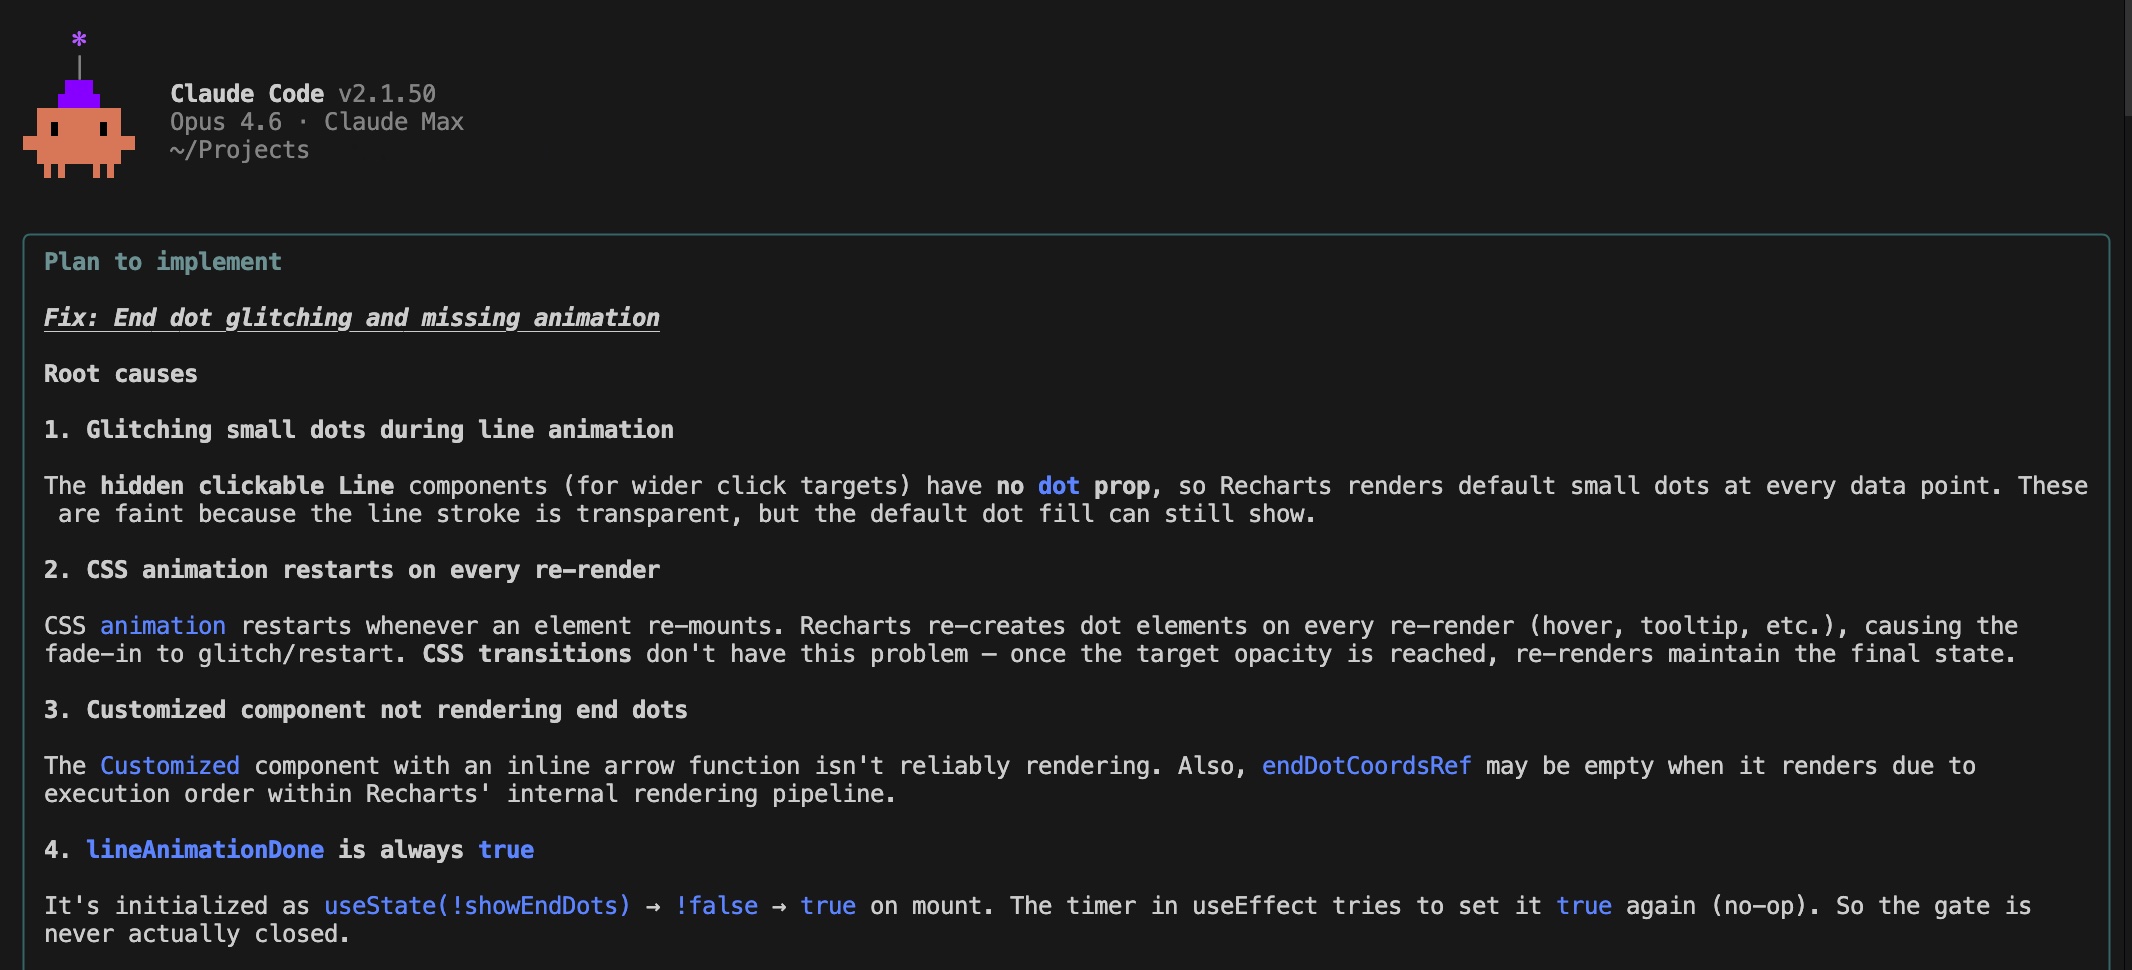
When you're trying to do a significant piece of work - whether it's a new feature, refactoring multiple files, or a bug that you haven't properly diagnosed - you should always use plan mode first. You can activate it by typing /plan or by pressing Shift+Tab to toggle it on.
In plan mode, Claude will explore your codebase, read any relevant files, and draft a plan before it writes any code. I've found this to be really valuable, as it gives Claude time to "think" and explore the problem in-depth. Plus, you a chance to see the plan and change course, before Claude goes and makes a bunch of changes that you didn't want.
I tend to use plan mode when:
- The task could be solved in several ways and I want to choose the approach
- I'm working on an unfamiliar part of the codebase
- The change will affect several files or components
- I want Claude to understand the full picture before making changes
- Or when Claude is struggling to fix a bug and needs more time to "think" through the options
I want you to add authentication to my app. We need: - A login page at /login - A signup page at /signup - Protected routes that redirect to /login if not authenticated - Manage the sessions with cookies Before you implement any code, I want you to review the route code in app/ and how we currently have the middleware setup. You need to properly understand your approachm before you start writing the code.
After you've reviewed Claude's plan, you can approve it, ask for changes, or reject it entirely. This back-and-forth is far cheaper than having to undo a bunch of changes that went in the wrong direction.
That said, you don't use plan mode for everything. If the fix is small and you know exactly what needs to change, just ask Claude to do it directly. Planning will add some overhead and it's not necessary for those simple fixes.
5. Add MCP servers
The Model Context Protocol (MCP) allows Claude Code to easily connect with external tools, extending what it can do beyond just reading and writing files. MCP servers act as plugins that allow Claude to access databases, APIs, browsers, and plenty more - with the ecosystem growing really quickly.
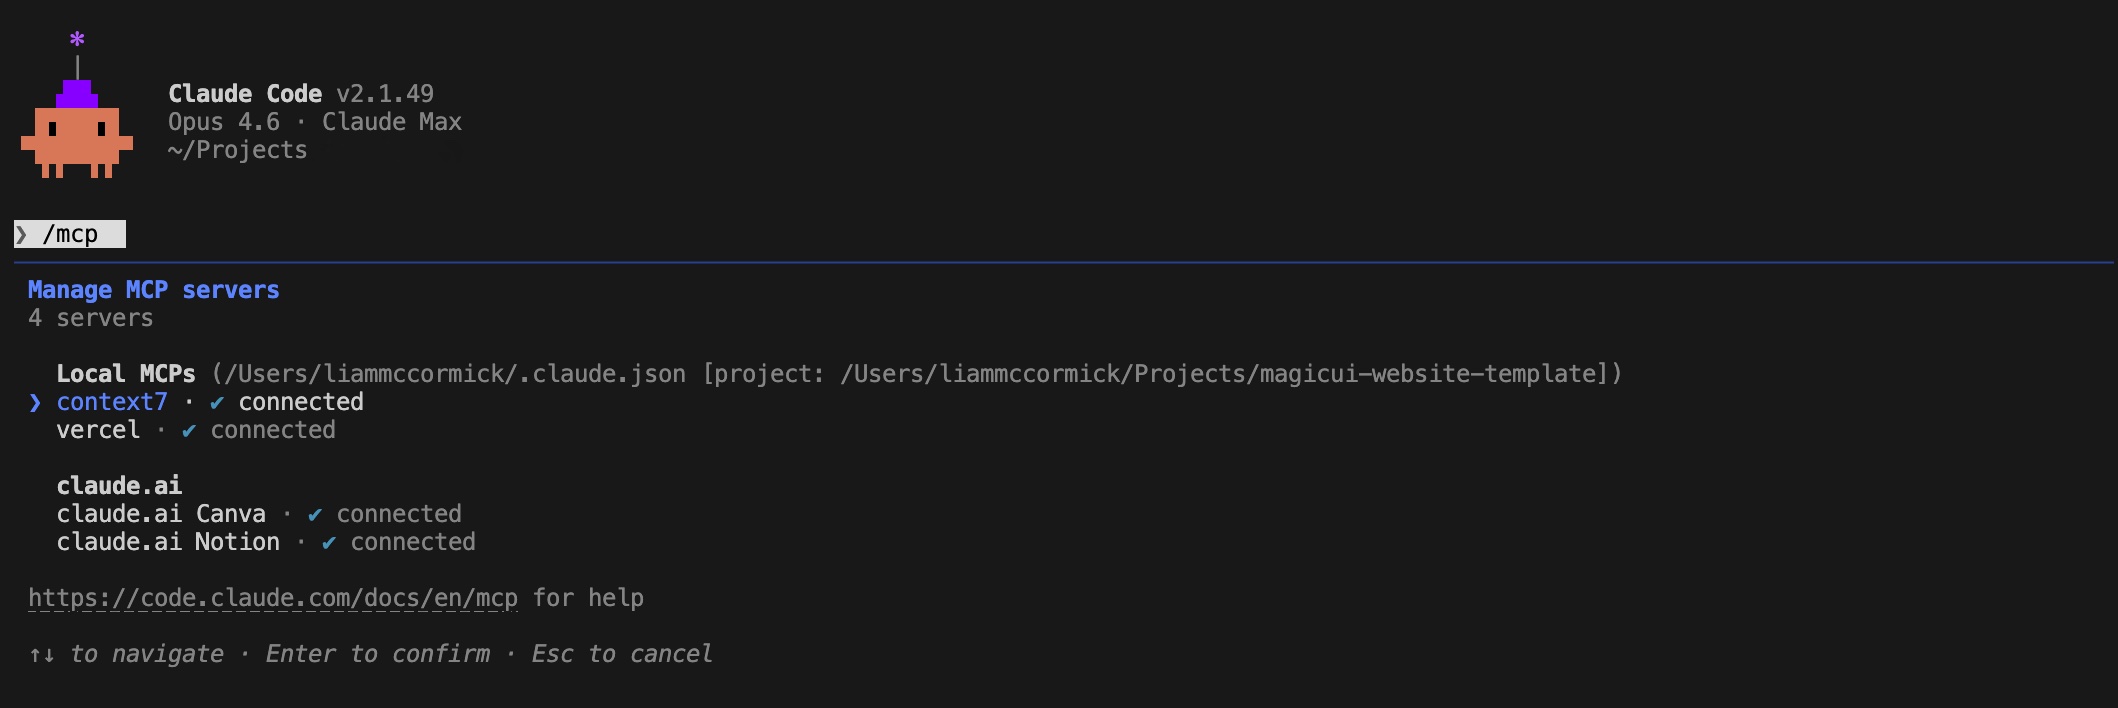
To add an MCP server, just run claude mcp add from your terminal. Once you've got it configured, these servers will persist across sessions and Claude can use them automatically when needed. Here are some of the most useful ones I've come across:
- Figma - capture your UI from a browser and convert it into editable Figma frames, or go the other direction and use Figma designs as a reference for generating code. Figma has recently announced official support for this, creating a proper bridge between the design process and writing code
- GitHub - create PRs, review issues, and manage your branches directly with Claude
- Sentry - pull error logs, stack traces, and root cause analysis directly into your conversation, so that you can debug production issues without leaving the terminal
- Postgres / Supabase - query your database, inspect schemas, and debug issues with the data. The Supabase server also allows you to manage migrations and the project configuration
- Linear - find, create, and update engineering tickets using natural language - rather than having to switch to the Linear app
- Context7 - fetches up-to-date documentation for popular libraries - like React, Next.js or Vue - so that Claude always has the most recent API documentation and doesn't rely on its training data
- Browser / Puppeteer - allow Claude to visit specific URLs, take screenshots, and test your UI
The real power comes from combining multiple servers. You could ask Claude to check a bug report on GitHub, pull the error details from Sentry, query the database to understand the data involved, fix the code, run the tests, and then open a PR - all in a single conversation.
6. Set up your project with CLAUDE.md
If you're going to be using Claude Code regularly on a project, you should create a CLAUDE.md file and store it in the root of your project. This file is automatically loaded into Claude's context at the start of every session, giving it constant knowledge about your codebase and how it's structured.
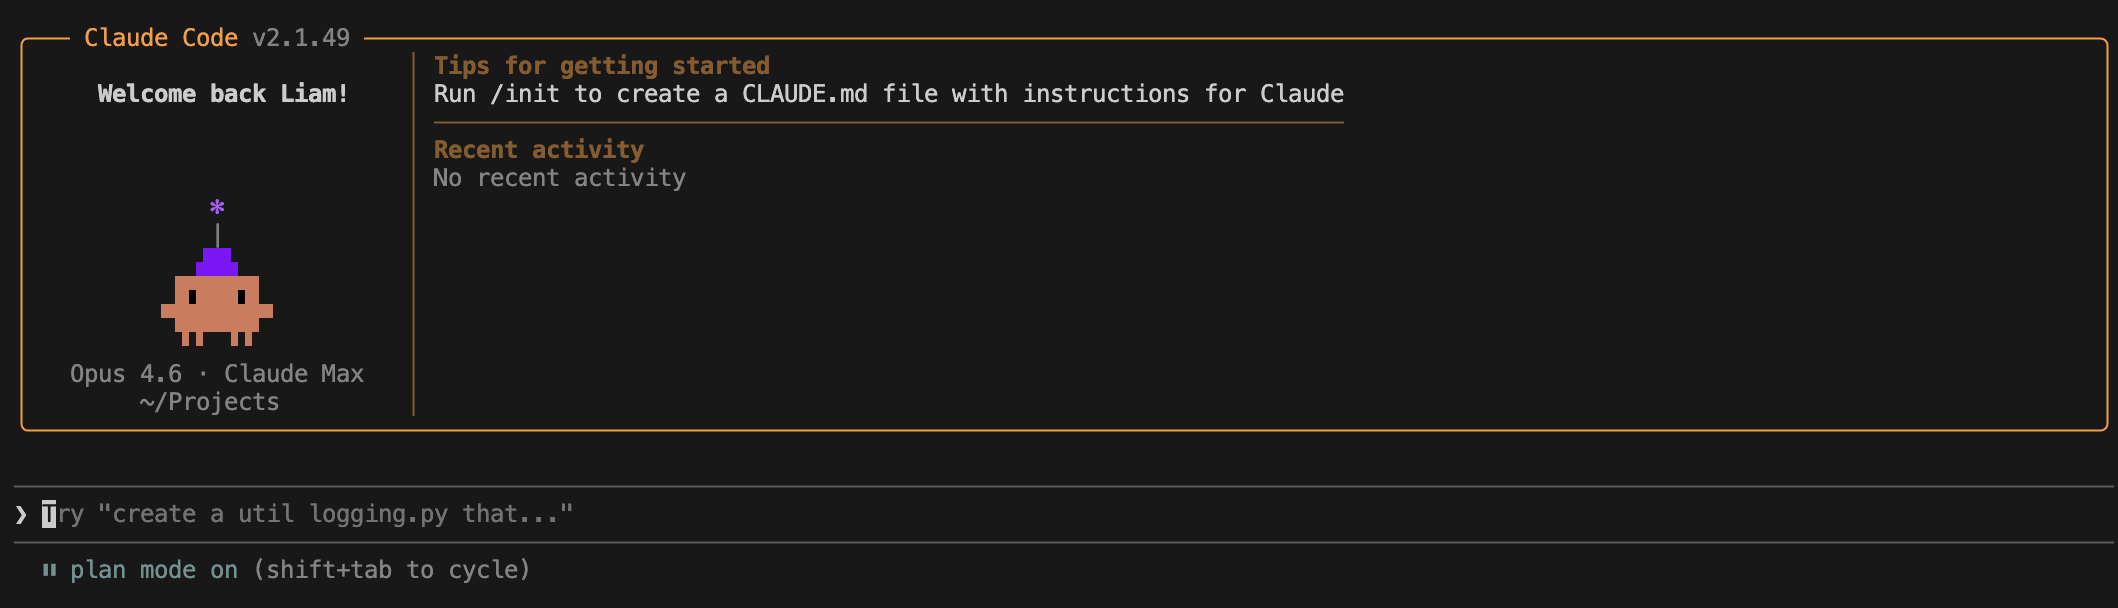
The easiest way to get started is to run /init inside Claude Code. It'll analyse your project and generate a starter CLAUDE.md based on your build system, test framework, and code patterns. It's not perfect, but it gives you a solid foundation and you can refine it further.
You should think of it as onboarding documentation for an AI teammate. Without it, Claude will start every conversation from scratch and has to figure out your project's conventions on its own - which will lead to more mistakes and more time spent correcting things.
A good CLAUDE.md should include:
- Build and run commands - how to start the dev server, run tests, build for production
- Code style guidelines - naming conventions, how to order your imports, different component patterns
- Architecture decisions - why you chose specific libraries, conventions for the folder structure
- Common pitfalls - things that are easy to get wrong in your specific codebase
# CLAUDE.md ## Build Commands - npm run dev - Start development server - npm run build - Build for production - npm run test - Run test suite - npm run lint - Lint codebase ## Code Style - Use functional components with TypeScript interfaces for props - Imports: React first, then components, then utils - Use Tailwind with cn() utility for class merging - Follow shadcn/ui component patterns with forwardRef ## Architecture - State management: React Context API (no Redux) - Styling: Tailwind CSS with shadcn/ui components - API routes: Next.js App Router with route handlers - Database: Prisma ORM with PostgreSQL ## Important Notes - Always use the "use client" directive for components with hooks - Keep server components as the default in app/ directory - Use next/image for all images (required for optimisation)
One important thing: keep it concise. If your CLAUDE.md is too long, Claude will start ignoring half of it. You should only keep the lines that are preventing Claude from making a mistake - cut everything else.
You can also create CLAUDE.md files in subdirectories for instructions that are specific to one area. For example, a components/CLAUDE.md might describe your component patterns in more detail, while a tests/CLAUDE.md could explain your testing conventions.
7. Create custom slash commands
If you find yourself typing the same prompts over and over - whether its a checklist for your code review, PR descriptions, or how to format your commit message - slash commands allow you to save these as reusable files. You can write the perfect prompt once, and quickly invoke it again with a single command.
To do this, you simply create a markdown file inside .claude/commands/ at the root of your project. The filename will become the command - so review.md becomes /project:review. When you invoke the command, the file's content is immediately sent to Claude as the prompt.
## Changed files !`git diff --name-only` ## Detailed changes !`git diff` Review the changes in $ARGUMENTS for potential issues. Focus on: - Logic errors and edge cases - Error handling gaps - Security vulnerabilities (injection, auth bypass, data exposure) - Performance issues (N+1 queries, unnecessary re-renders, missing memoisation) - Whether the code follows our existing patterns and conventions For each issue found, explain the risk and suggest a fix. If everything looks good, confirm that too.
The !`` syntax is quite useful, as it embeds the shell output directly into your prompt. When you run this command, Claude can automatically see the current git diff without you having to paste it in. This is what makes slash commands so powerful - they can pull in the latest context every time they're run.
Notice the $ARGUMENTS placeholder - this gets replaced with whatever you type after the command. So running /project:review payment-form.tsx will automatically include that filename in the prompt.
/project:review components/checkout/payment-form.tsx
Since these command files live in your project directory, you can commit them to git and share these workflows with your team. It's a really powerful way to ensure there's consistency across the board - as everyone will run the same code review checklist, the same PR description template, and the same pre-commit checks.
You can also create personal commands in ~/.claude/commands/ for workflows that you want to make available across all of your projects. These show up as /user:command-name and are great for storing your personal preferences.
This ties directly back to my first point - the best prompts are specific and include plenty of detail. With Slash commands, you can invest time writing the perfect prompt once and then reuse it forever. Once you've built up a prompt that consistently gives you great results, you should save it as a command.
8. Use Claude for code reviews
Claude Code isn't just great at writing new code - it's also great at reviewing the code you've already written. I've started using it to check my own work before committing, and it's caught things I would have missed: edge cases, missing error handling, or things I forgot to cleanup.
The key is to be specific about what you want it to focus on. If you just ask "review this code", you'll get really generic feedback. But if you point it at a specific file and tell it to look for a list of issues, the results are much more useful.
Review the changes I've made in components/checkout/payment-form.tsx. Focus on: - Any edge cases in the form validation - Whether the error handling covers all the failure modes from Stripe's API - If there are any race conditions - Whether the component properly cleans up the subscriptions on unmount Don't worry about styling or naming conventions for now, just focus on correctness and reliability.
You can also ask Claude to review a git diff before you commit, which is a great way to catch issues early. I do this regularly now - just ask Claude to look at your staged changes and flag anything that needs to be changed.
Beyond your own code, it's also useful when you're reviewing someone else's pull request. Ask Claude to explain the changes, highlight anything risky, and check whether the new code is consistent with the patterns that are used elsewhere in the project.
Look at the git diff for the latest commit on this branch. Explain what the changes do, flag anything that looks like it could cause issues, and check whether the new code follows the patterns that we use in the rest of the codebase. Pay special attention to: - Any new dependencies being added - Changes to shared code or types that could affect other parts of the app - Whether the error and loading states are being handled consistently
9. Give Claude a way to verify its work
This is something I wish I'd understood sooner. Claude is much better when it can check its own work. Without clear success criteria, it'll produce something that looks right but might not actually work - and you become the only feedback loop.
The most common form of this is the edit-test-fix loop. Instead of writing code and hoping it works, tell Claude to run your test suite after making changes. If a test fails, it can read the error output, diagnose the issue, and fix it - often without any input from you.
Add a utility function to lib/utils.ts that formats a number as a currency string. Requirements: - Accept a number and an optional currency code (default: "USD") - Handle negative numbers with a minus sign before the currency symbol - Round to 2 decimal places - Add thousand separators After you've implemented this, run the existing test suite with "npm run test" to make sure nothing is broken, then write tests for the new function in lib/__tests__/utils.test.ts and follow the patterns in the existing test file.
But verification goes beyond tests. You can ask Claude to take a screenshot of the UI and compare it against a design, run a linter to check code style, or validate the output against your expected results. If you give Claude a way to close the loop, it can catch its own mistakes and won't need you to do this for it.
Implement the card layout and use the attached design. After you've made these changes, take a screenshot of the result and compare it to the original. List any differences you can see and fix them.
This works especially well when your CLAUDE.md includes the test and lint commands, so Claude knows exactly how to run them. The more ways it can verify its own output, the less time you need to spend reviewing and correcting mistakes.
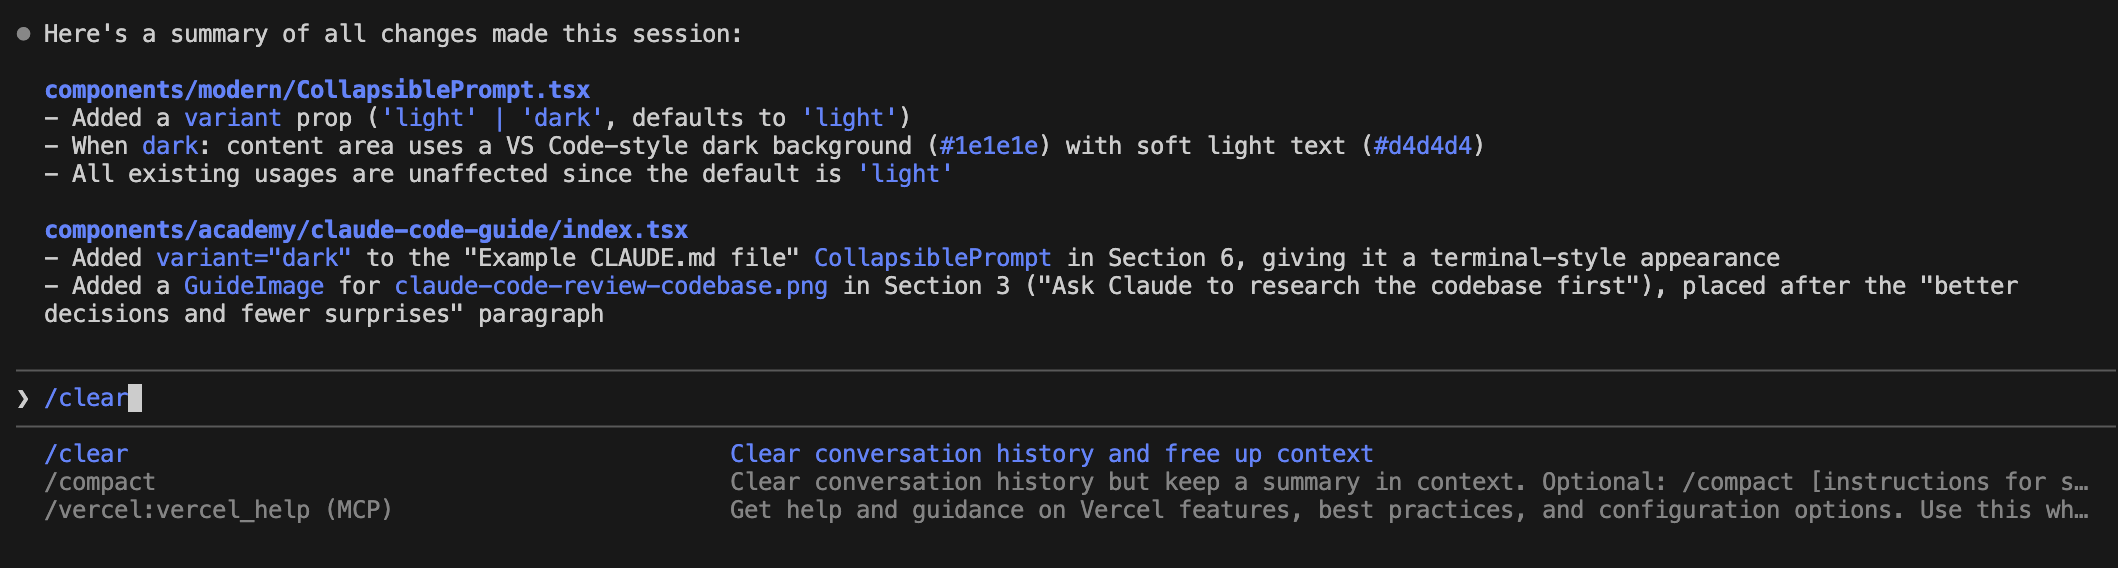
10. Manage your context window
Finally, you need to keep the context window in mind and be prepared to clear it. The AI model will have a context window that holds your entire conversation - every message, every file it reads, every command output. As this starts to fill up, its performance will drop off. Claude starts to forget your earlier instructions and can make more mistakes.
The best habit I've built is using /clear between unrelated tasks. If you've finished one feature and are moving on to something else, you should clear the context window so that Claude starts fresh again. A long conversation full of irrelevant information will only slow it down and impact the results.
Anthropic has made some changes in the background and will automatically compact your conversation when it gets too long, so this is less of an issue than before, but it's useful to know and can help you eke a bit more performance from Claude Code.
There are several ways you can manage the context window:
- /clear - reset the context completely and is useful when you're switching to an unrelated task
- /compact - summarise the conversation, so that you can free up space but still preserve the key decisions. You can also add instructions like
/compact focus on the API changes - Esc - stop Claude mid-action if you see that it's going off track. Context will be preserved, so that you can redirect the AI model
- Esc + Esc or /rewind - restore a previous conversation and code state. Every action Claude takes will create a checkpoint that you can rewind to
One mistake I kept making early on was correcting Claude over and over when it got something wrong. After two or three failed corrections, the context is full of bad approaches and Claude becomes even more confused.
It's almost always faster to hit /clear and start a fresh conversation with a better prompt that incorporates what you learnt from the failed attempts. You can also enable Plan mode and encourage Claude to think about the problem in greater depth.
You should also ask Claude to use subagents for research-heavy tasks. When Claude explores a codebase, it reads lots of files - all of which consume your context. By saying "use a subagent to investigate how our auth system works", the research happens in a separate context window and only the summary comes back to your main conversation.
Sometimes, Claude automatically will do this for you - but it's a useful technique and helps to keep your context window clean.
Key takeaways
I've been using Claude Code for the last six months. It's an incredibly powerful tool and allows developers to write code faster than ever, fix issues in minutes, and design new user interfaces that will delight people.
During this time, I've really put Claude Code through its paces and learnt a lot about how you can extract the most from it. Here's a quick overview of the different strategies you can use.
1. Most problems come down to vague prompts
When Claude gives you a bad result, the first thing to check is whether your prompt was specific enough. Nine times out of ten, the issue isn't Claude - it's that you didn't tell it exactly what you wanted. The 30 seconds you spend writing a clearer prompt will save you 10 minutes of back-and-forth.
2. Screenshots are worth more than you'd think
I was sceptical about this at first, but I've saved a lot of time by pasting a Figma mockup or a screenshot that clearly shows the UI bug. It's much easier for Claude to build towards something that it can see, rather than something you've described in text.
3. Let Claude research before it builds
Before jumping into code changes, ask Claude to research the codebase first. It will read the relevant files, understand the patterns already in use, and produce much better results. This is especially useful when you're working in an unfamiliar part of the codebase.
4. Use plan mode for the big stuff
For complex tasks, use plan mode so that Claude can think through the approach before writing any code. It's a bit more effort upfront, but it will save you time by avoiding those wrong decisions and unnecessary changes.
5. MCP servers are a game-changer once you set them up
I put off setting up MCP servers for quite a while, as it seemed like extra work for very little gain. But once I connected it to Figma, GitHub, and Sentry, my workflows became significantly more powerful. There are lots of MCP servers to choose from, just browse the list, pick a platform that you regularly use, and build from there.
6. CLAUDE.md gets better with age
Run /init to generate a starter file, then refine it every time Claude makes a mistake that a rule could have prevented. But make sure you keep it concise - if it's too long, Claude will start ignoring half of it.
7. Automate your best prompts
Once you've written a prompt that consistently gives you great results, save it as a slash command so you never have to write it again. Drop a markdown file in .claude/commands/ and your whole team can use it. It's one of the easiest ways to standardise quality across a project.
8. If you can't verify it, don't ship it
Tests, screenshots, linters, expected outputs - these all allow Claude to check its own work. The edit-test-fix loop is a reliable way to get working code, and it's often used by experienced developers.
9. Use Claude as your first code reviewer
Before you ask a colleague to review your code, ask Claude first. It can catch bugs, suggest improvements, and flag potential issues - all without taking up another developer's time. It won't replace human reviews entirely, but it will make them faster and more focused.
10. Context is your most valuable resource
Use /clear to reset the context window between tasks. Ask Claude to use subagents for research. If you've corrected Claude twice and it's still wrong, don't correct it a third time - start fresh, enter Plan mode, and outline what Claude has already tried. A clean context with a good prompt will almost always outperform a long, cluttered conversation with lots of corrections.
Summary
The gap between an average experience with Claude Code and a great one comes down to two things: how clearly you communicate what you want, and how well you manage the context window. Be specific with your prompts, show Claude what you want with images, give it ways to verify its own work, and make sure you use /clear between tasks to keep things sharp.
If you found this guide useful, you'll enjoy my weekly newsletter - every week I analyse the latest AI advances and how you can use them. It's free and you can unsubscribe at any time.
Read by executives at:
You might also like

AI use cases for everyone
Practical ways that you can use AI. At work, at home, and everywhere in between.

Create your first AI agent
A comprehensive guide to building and deploying your first AI agent.

Create a short film with AI
The workflow I used to create an animated short in three days, with zero filmmaking experience.